はじめに
Three.jsで3Dモデルのガラス表現#threejs pic.twitter.com/pbv0vkOMK8
— かめのの (@kameno_no3) September 21, 2026
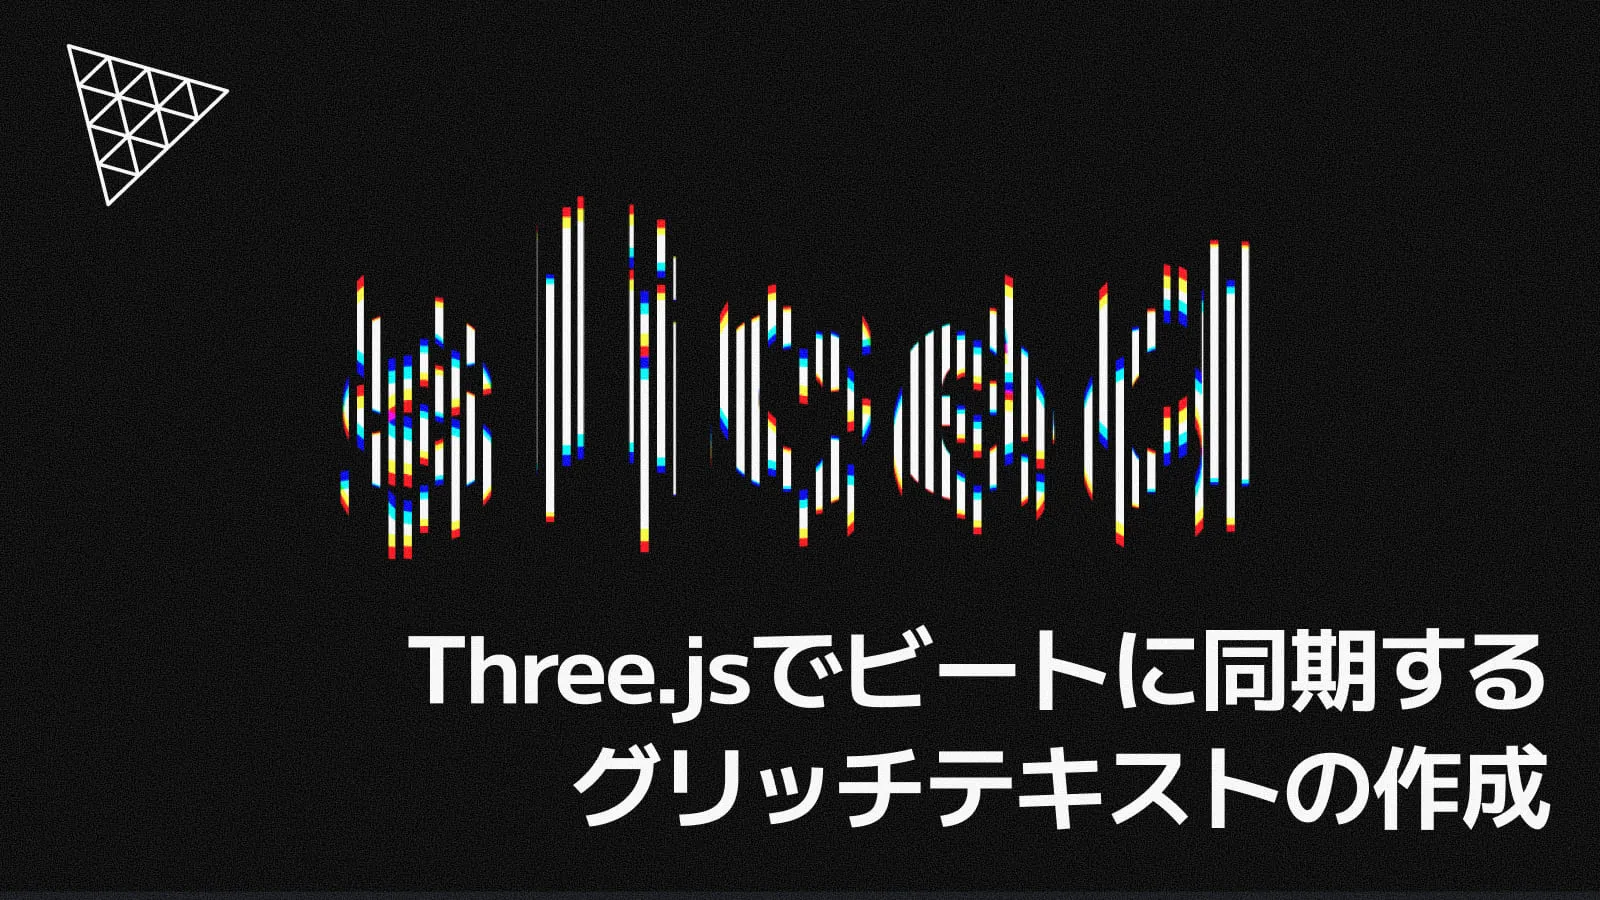
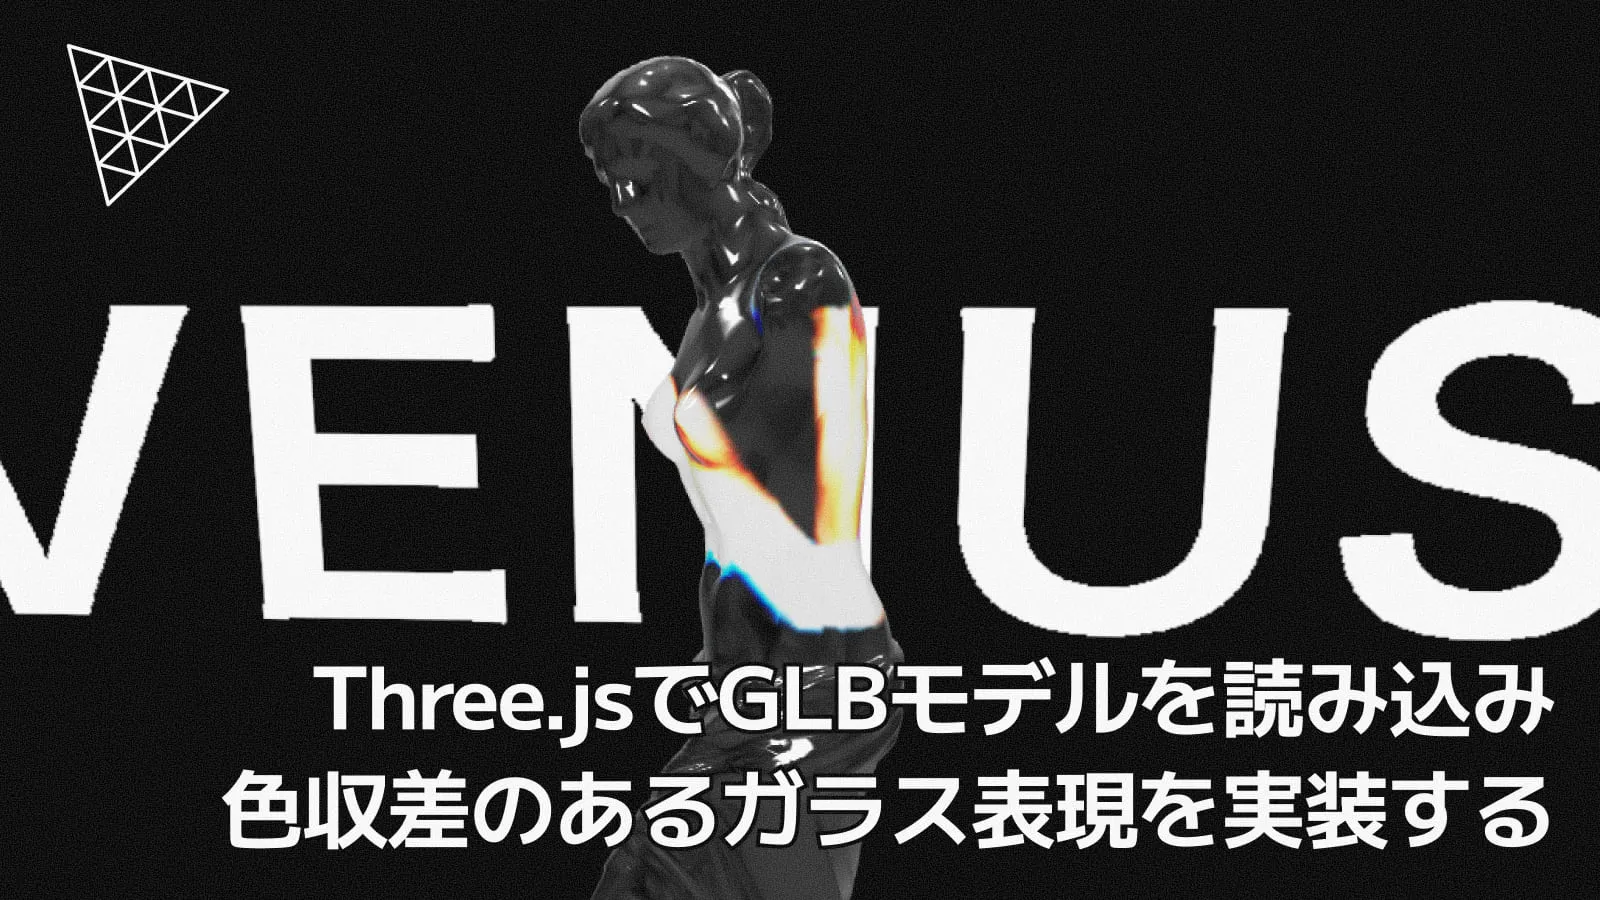
今回は、Three.jsでGLBモデルを読み込み、色収差のあるガラス表現を実装する方法を解説します。今回もテキストはCanvasで描画し、モデル越しに見ると色収差がかかる表現を行います。
モデルのガラス表現のやり方はいろいろありますが、今回はThree.jsのMeshPhysicalMaterialをそのまま使用し、表現してみます。MeshPhysicalMaterialの設定も解説していきます。
Three.jsの開発環境は以前の記事を参考にしてください。
この記事のデモのコードは以下のGitHubリポジトリにあるので、ぜひ参考にしてください。
実装の考え方
今回の実装の考え方は以下の通りです。
- 3DモデルのGLBモデルは、Three.jsのGLTFLoaderを使って読み込む
- 読み込んだモデルにはMeshPhysicalMaterialを適用し、ガラス表現を行う
- テキストはCanvasで描画し、モデル越しに見ると色収差がかかる表現を行う
- マウスの動きによって、テキストとモデルを傾けさせるようにするので、THREE.Groupでまとめる
- GSAPでモデルの登場アニメーションを実装する
このデモでの初期化のコードは以下のようになっています。
export class App extends Three {
private readonly camera: PerspectiveCamera;
private glassModel!: THREE.Group;
private textPlane!: THREE.Mesh;
private contentGroup!: THREE.Group;
private mouse: THREE.Vector2 = new THREE.Vector2(0, 0);
private targetRotation: THREE.Vector2 = new THREE.Vector2(0, 0);
private currentRotation: THREE.Vector2 = new THREE.Vector2(0, 0);
private isIntroPlayed = false;
constructor(canvas: HTMLCanvasElement) {
super(canvas);
this.camera = new PerspectiveCamera();
this.init();
window.addEventListener('resize', this.resize.bind(this));
window.addEventListener('mousemove', this.onMouseMove);
this.renderer.setAnimationLoop(this.animate.bind(this));
}
private init() {
this.scene.background = new THREE.Color(0x000000);
this.setupLighting();
this.contentGroup = new THREE.Group();
this.scene.add(this.contentGroup);
this.setupText('VENUS');
this.loadModel(venus);
}
}それでは最初にモデル越しに見ると色収差がかかるよう、Canvasでテキストを描画する部分から実装していきます。
テキストをCanvasで描画する
Canvasでテキストを描画するコードは次のようになります。
private setupText(text: string) {
const canvas = document.createElement('canvas');
canvas.width = window.innerWidth;
canvas.height = window.innerHeight;
const ctx = canvas.getContext('2d') as CanvasRenderingContext2D;
ctx.clearRect(0, 0, canvas.width, canvas.height);
ctx.fillStyle = '#ffffff';
ctx.font = 'bold 200px sans-serif';
ctx.textAlign = 'center';
ctx.textBaseline = 'middle';
ctx.letterSpacing = '10px';
ctx.fillText(text, canvas.width / 2, canvas.height / 2);
const texture = new THREE.CanvasTexture(canvas);
texture.needsUpdate = true;
const geometry = new THREE.PlaneGeometry(8, 4);
const material = new THREE.MeshBasicMaterial({
map: texture,
side: THREE.DoubleSide,
});
this.textPlane = new THREE.Mesh(geometry, material);
this.textPlane.position.z = -0.8;
this.contentGroup.add(this.textPlane);
}ガラス越しにテキストが見えるようにCanvasで描画したものをテクスチャとしてPlaneGeometryに貼り付けています。マテリアルはMeshBasicMaterialを使用しています。3Dモデルの後ろに配置するためにz座標を負の値に設定しています。
先述のように、マウスの位置によって3Dモデルとテキストを傾けたいので、contentGroupに入れています。
続いては、ライティングの設定について見ていきます。
ライティングの設定
MeshPhysicalMaterialを使用したガラス表現をする場合には、適切なライティングが必要になります。特に環境マップとディレクショナルライトを組み合わせることで、ガラスの透明感や反射をリアルに表現できます。
今回は環境マップとしてRoomEnvironmentを使用するので、インポートしておきましょう。
import { RoomEnvironment } from 'three/examples/jsm/Addons.js';ライティングの設定をしているsetupLightingメソッドは次のようになります。
private setupLighting() {
// 環境マップの設定
const pmremGenerator = new THREE.PMREMGenerator(this.renderer);
this.scene.environment = pmremGenerator.fromScene(new RoomEnvironment(), 0.04).texture;
pmremGenerator.dispose();
// ライティング(ガラスの陰影とハイライト)
const ambientLight = new THREE.AmbientLight(0xffffff, 0.8);
this.scene.add(ambientLight);
const mainLight = new THREE.DirectionalLight(0xffffff, 2.0);
mainLight.position.set(5, 5, 5);
this.scene.add(mainLight);
}PMREMGeneratorは、環境マップをPBRレンダリングに適した形に変換するために使用します。そして、変換後のテクスチャをthis.scene.environmentに設定することで、MeshPhysicalMaterialなどのPBRマテリアルが環境からの光を利用できるようになります。
その他のライティングとしては、AmbientLightとDirectionalLightを使用し、適切な強度と位置に配置しています。
ライティングの設定をしたので、続いては3Dモデルの表示について見ていきます。
3Dモデルの表示
3Dモデルの読み込みにはGLTFLoaderを使用します。さらに、今回のモデルはDRACO圧縮されているのでDRACOLoaderも併用します。モデルなどの具体的なインポートは次のようになります。
import { DRACOLoader, GLTFLoader } from 'three/examples/jsm/Addons.js';
import venus from '../assets/model/venus.glb?url';3Dモデルを読み込みマテリアルを設定するloadModelメソッドは次のようになります。
private loadModel(url: string) {
const loader = new GLTFLoader();
const dracoLoader = new DRACOLoader();
dracoLoader.setDecoderPath(`/${basePath}/assets/draco/`);
loader.setDRACOLoader(dracoLoader);
const glassMaterial = new THREE.MeshPhysicalMaterial({
color: 0xeeeeee,
transmission: 1.0,
metalness: 0.01,
roughness: 0.05,
ior: 1.52,
thickness: 1.8,
dispersion: 15.0,
});
loader.load(
url,
gltf => {
this.glassModel = gltf.scene;
this.glassModel.traverse(child => {
if ((child as THREE.Mesh).isMesh) {
(child as THREE.Mesh).material = glassMaterial;
}
});
this.glassModel.scale.setScalar(0);
this.glassModel.position.set(0, -1.8, 0);
this.glassModel.rotation.set(0, -2.8, 0);
this.contentGroup.add(this.glassModel);
this.playModelIntro();
dracoLoader.dispose();
},
progress => {
console.log(`Loading progress: ${(progress.loaded / progress.total) * 100}%`);
},
error => {
console.error('An error occurred while loading the model:', error);
dracoLoader.dispose();
},
);
}GLBモデルの読み込み方法はコードの通りになります。
dracoのwasmなどの場所はThree.jsライブラリの下記の場所にあるので、publicディレクトリにdracoディレクトリごと配置しておきましょう。
node_modules/three/examples/jsm/libs/draco/続いてMeshPhysicalMaterialの設定について見ていきましょう。
ガラス質感をMeshPhysicalMaterialで作る
MeshPhysicalMaterialのコードは次のようになっています。
const glassMaterial = new THREE.MeshPhysicalMaterial({
color: 0xeeeeee,
transmission: 1.0,
metalness: 0.01,
roughness: 0.05,
ior: 1.52,
thickness: 1.8,
dispersion: 15.0,
});今回MeshPhysicalMaterialで設定しているガラス質感の主なパラメータは以下の通りです。
| パラメータ | 説明 |
|---|---|
| color | マテリアルの色。ガラスの場合は薄い灰色などを設定。 |
| transmission | 透過率。1.0で完全に透明。 |
| metalness | 金属度。ガラスの場合はほぼ0。 |
| roughness | 粗さ。ガラスの場合は低めに設定。 |
| ior | 屈折率。ガラスは約1.52。 |
| thickness | 厚み。光の屈折に影響。 |
| dispersion | 分散。光の色の分離具合。 |
このパラメータを調整することで、ガラスの質感を細かくコントロールすることができます。
モデルのイントロアニメーション
今回のデモでは3Dモデルの登場アニメーションをしているので、実装していきます。3Dモデルを読みこむときにモデルの初期状態を設定してから、アニメーションでスケールや回転を変化させる形になります。
private loadModel(url: string) {
// ...
loader.load(
url,
gltf => {
// ...
this.glassModel.scale.setScalar(0);
this.glassModel.position.set(0, -1.8, 0);
this.glassModel.rotation.set(0, -2.8, 0);
this.contentGroup.add(this.glassModel);
this.playModelIntro();
dracoLoader.dispose();
},
// ...
);
}モデルの初期状態の設定の後に、イントロアニメーションを再生するためにplayModelIntroメソッドを呼び出しています。こちらはGSAPを使ってスケールや回転をアニメーションさせる実装になっています。
playModelIntro() {
const timeline = gsap.timeline({
defaults: { ease: 'power3.out' },
});
timeline
.to(this.glassModel.scale, {
x: 10,
y: 10,
z: 10,
duration: 1.4,
})
.to(this.glassModel.rotation, {
y: 0.1,
duration: 1.5,
onComplete: () => {
this.isIntroPlayed = true;
},
},'<');
}3Dモデルが小さかったので、10倍にスケールアップして表示しています。
これで3Dモデルのイントロアニメーションが実装できました。
イントロアニメーションが完了するまでは、マウスのインタラクションが無効になるようにしています。アニメーションが完了したらthis.isIntroPlayedをtrueにします。
最後にマウスのインタラクションを実装します。
マウスのインタラクション
マウスの位置に応じてテキストと3Dモデルを傾けるコードになります。
private onMouseMove = (event: MouseEvent) => {
if (!this.isIntroPlayed) return;
this.mouse.x = (event.clientX / window.innerWidth) * 2 - 1;
this.mouse.y = -(event.clientY / window.innerHeight) * 2 + 1;
this.targetRotation.x = this.mouse.y * 0.4;
this.targetRotation.y = -this.mouse.x * 0.4;
};
private animate() {
this.currentRotation.x += (this.targetRotation.x - this.currentRotation.x) * 0.1;
this.currentRotation.y += (this.targetRotation.y - this.currentRotation.y) * 0.1;
this.contentGroup.rotation.x = this.currentRotation.x;
this.contentGroup.rotation.y = this.currentRotation.y;
this.renderer.render(this.scene, this.camera);
}以下の部分の0.4の値を調整することで、マウスの傾きの感度を変更することができます。
this.targetRotation.x = this.mouse.y * 0.4;
this.targetRotation.y = -this.mouse.x * 0.4;これで、Three.jsでガラス素材の3Dモデルを表示し、モデル越しのテキストが色収差して見える表現ができるようになりました。
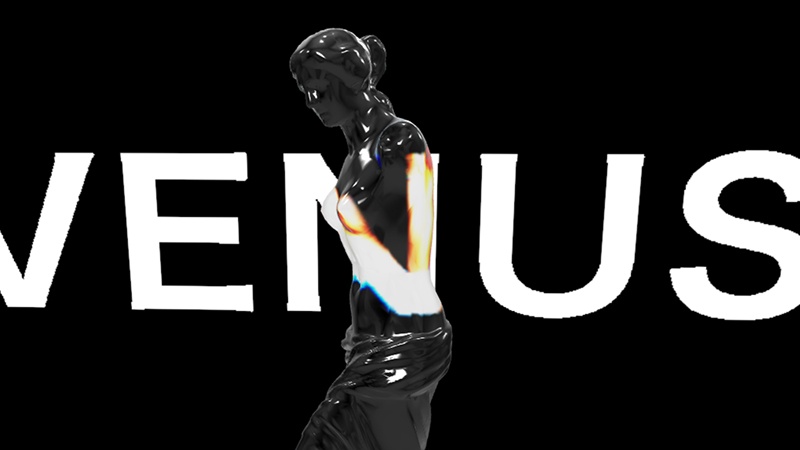
実際にコードとデモを確認してみてください!
まとめ
Three.jsでGLB形式の3Dモデルを読み込み、ガラス素材の表現や色収差のあるテキスト表現を実装する方法について解説しました。
今回は簡易的にThree.jsにあるMeshPhysicalMaterialをそのまま使ってガラス素材を表現しましたが、他にもやり方があるので、別の機会に紹介したいと思います。
他のガラス表現の参考リンクを載せておきます。
MeshPhysicalMaterialを拡張したガラス表現
- カスタムシェーダーでのガラス表現
光の屈折などの物理的な部分まで詳しく解説してあります。シェーダーでガラス表現を自作する際の参考になります。