はじめに
Astroで作成したこのブログのコードハイライトのプラグインにrehype-pretty-codeを使ったので実装方法などを書く🔮(👇ドキュメントが詳しく書かれているのでこちらを見たほうがいいかもです)
rehype-pretty-codeとは?
rehype-pretty-codeは名前の通りrehypeプラグインになります。
このプラグインでもShikiを使ってシンタックスハイライトを行っています。
前回の記事でも書きましたが、AstroでもデフォルトでShikiを使っているのになぜrehype-pretty-codeを使ったかというと、Astroでファイル名と行の強調表現のやり方が分からなかったからです。
このブログでは⬇️のようにtitleと{}の中に書くことでファイル名や行の強調ができるようになります。
```js title="astro.config.mjs" {3-5, 9-11}
export default defineConfig({
site: siteUrl,
prefetch: {
prefetchAll: true
},
vite: {
css: {
preprocessorOptions: {
scss: {
additionalData: `@use "src/styles/mixin.scss";`
}
```export default defineConfig({
site: siteUrl,
prefetch: {
prefetchAll: true
},
vite: {
css: {
preprocessorOptions: {
scss: {
additionalData: `@use "src/styles/mixin.scss";`
}この記事では、ファイル名の表示と行の強調表現まで書きます。
行番号の表示などのやり方はドキュメントを見てください。
Astroで使うための準備
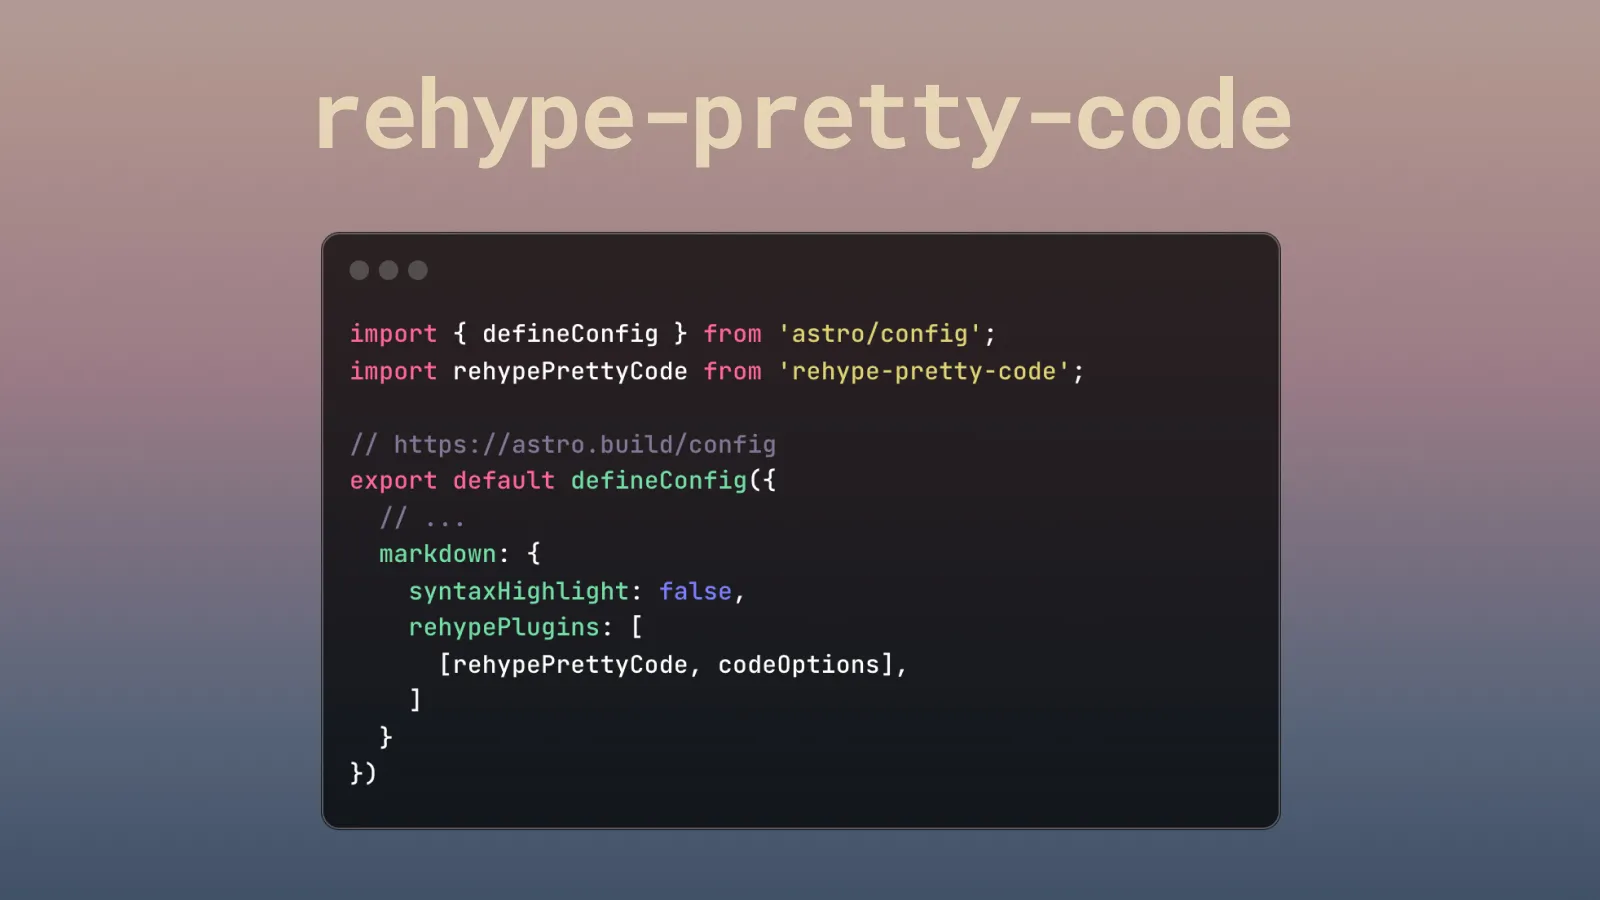
astro.config.mjsでrehype-pretty-codeを使う準備をします。
Astroでは標準でシンタックスハイライトが効いているのでsyntaxHighlightをfalseにします。
また、デフォルトのテーマはgithub-dark-dimmedなのでテーマを変えたり、デフォルト言語を指定する際はdefaultLangで指定できるのでcodeOptionsに指定しましょう。
Shikiのテーマはここから確認できます。
import { defineConfig } from 'astro/config';
import rehypePrettyCode from 'rehype-pretty-code';
const codeOptions = {
theme: 'one-dark-pro',
defaultLang: 'plaintext',
}
// https://astro.build/config
export default defineConfig({
// ...
markdown: {
syntaxHighlight: false,
rehypePlugins: [
[rehypePrettyCode, codeOptions],
]
}
})コードの行の強調表現
行の強調表現機能を追加するために、rehype-pretty-codeのオプションを追加します。
const codeOptions = {
// ...
onVistitLine(node) {
if (node.children.length === 0) {
node.children = [{ type: 'text', value: ' ' }];
}
},
onVisitHighlightedLine(node) {
if (!node.properties) {
node.properties = {}; // propertiesが定義されていない場合は初期化する
}
if (!node.properties.className) {
node.properties.className = []; // classNameが定義されていない場合は初期化する
}
node.properties.className.push('highlighted');
},
};このオプションを追加することで、該当部分のクラスにhighlightedが付きます。
自分の環境だとエラーが出たのでif(!node.properties)とif(!node.properties.className)で条件分岐させてます。
デフォルトでは表示が変わらないのでハイライト用のクラスを以下のように追加します。
[data-rehype-pretty-code-figure] {
position: relative;
pre {
border-radius: 0.5rem;
overflow-x: auto;
}
pre > code {
display: grid;
border-radius: 0.5rem;
padding: 1.5rem 0 1.5rem;
line-height: 1.75;
font-family: "ui-monospace","SFMono-Regular","SF Mono","Menlo","Monaco","Consolas","monospace";
[data-line] {
border-left: 4px solid transparent;
padding: 0 1.5rem;
}
.highlighted {
background-color: #2e4c35;
border-color: #469458;
}
}
}ファイル名のスタイリング
rehype-pretty-codeを使うことでMarkdownにtitleを記入すると<figure data-rehype-pretty-code-figure>直下に<figcaption data-rehype-pretty-code-title>にファイル名が表示されるのでこちらにスタイリングを追加します。
👇はこのブログでのファイル名のスタイリングになります。
[data-rehype-pretty-code-figure] {
position: relative;
[data-rehype-pretty-code-title] {
position: absolute;
top: 0;
left: 0;
padding: 0.5rem 1rem;
background-color: var(--yellow);
border-top-left-radius: 0.5rem;
font-size: 0.75rem;
line-height: 1;
& + pre > code {
padding-top: 2.5rem;
}
}
// ...
}ここでファイル名が無い場合に上の余白が空いてしまうので& + pre > codeでpadding-topを上書きしてます。
まとめ
Astroでのコードブロックのハイライトにrehype-pretty-codeを使った実装方法を紹介しました。
CSSについては、デフォルトでは用意されて無く自分でスタイリングをつける必要がありますが、その分自由にデザインできるのでいいですね。